Manage notifications
Notifications can be sent to users.
Notifications can be displayed as a notification bar at the top of the learningBOX screen or sent to a registered e-mail address.
*Select "Notifications" > "Notification Management" from the side menu to open the page.
Required
Notification Management Authority
Sign up for new announcements
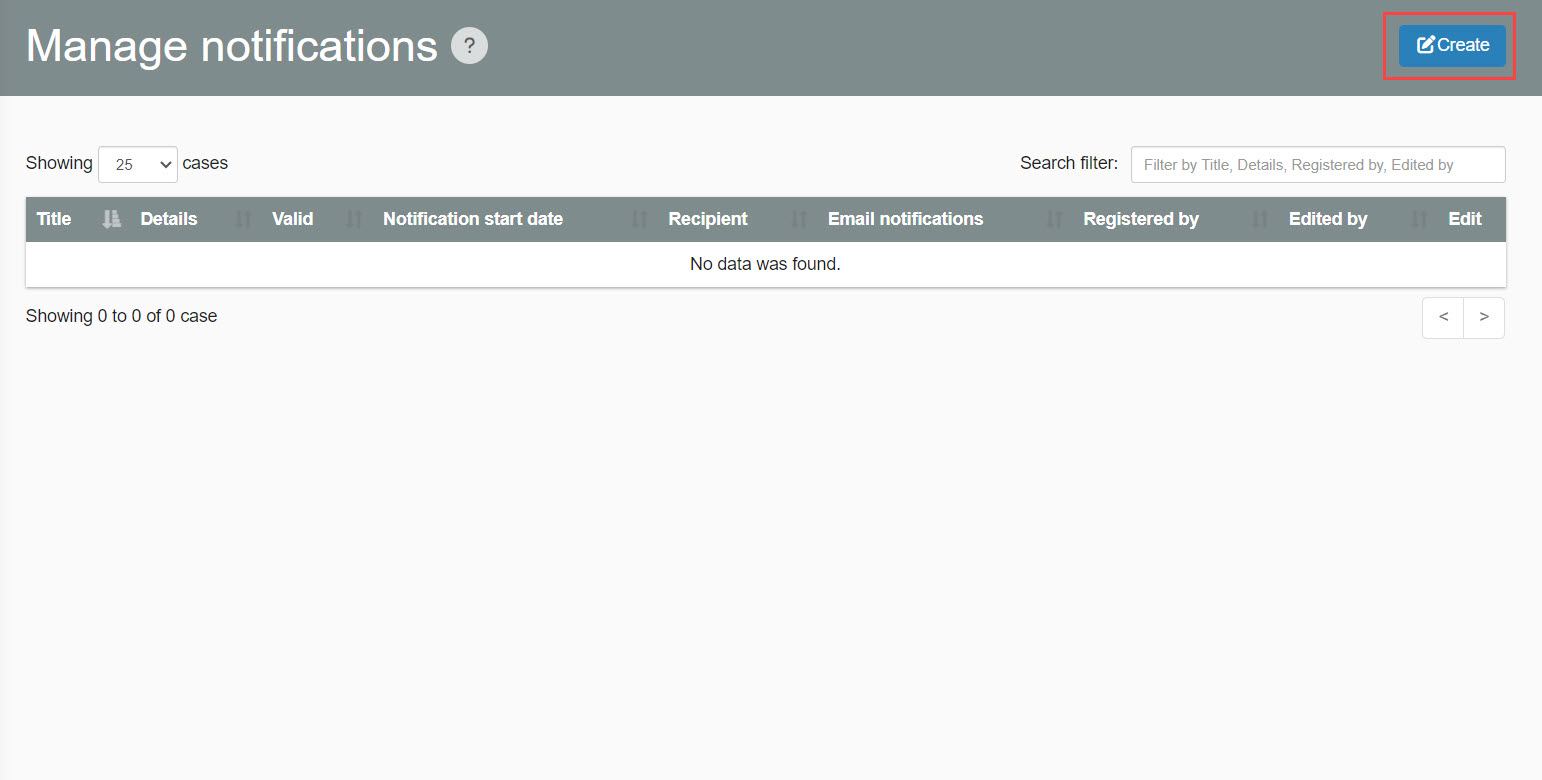
01. Open registration/edit screen
Click "New Registration" in the upper right corner of the "Manage Notices" screen.
02. Settings
The following window will be shown.
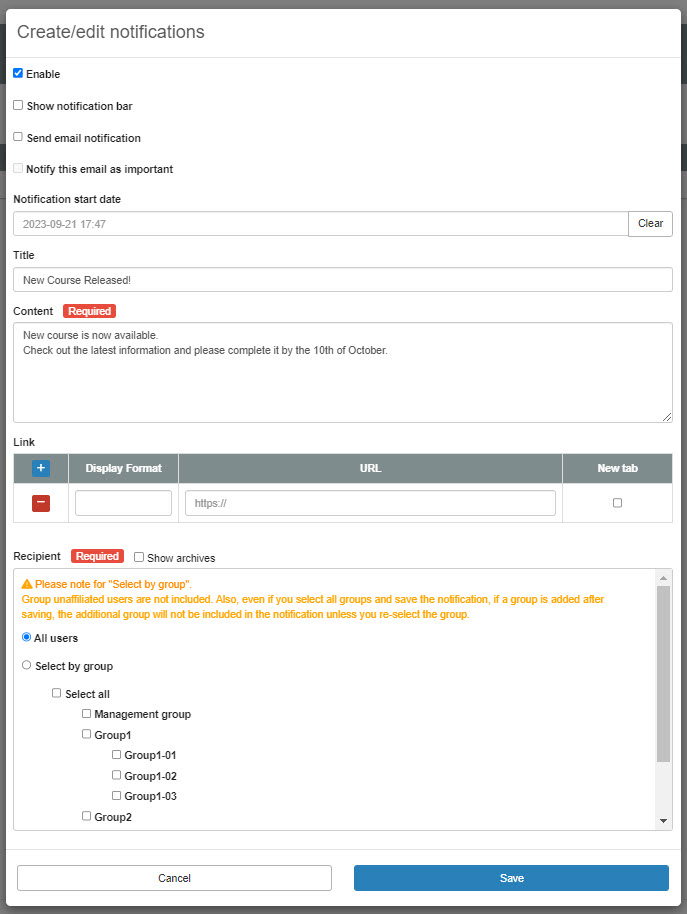
The following explains the details.
▼ Enable
Please make sure to tick here.
▼ Display the notification bar
A notification bar can be displayed at the top of the user's screen.
To display, please tick the box.
▼ Email Notification
Users can be notified by e-mail of announcements.
Tick the box to use this function.
*For more information on how to edit email templates, please contact us. Email settings by adminPlease refer to the "Notice Notification" in
▼ Notify as Important Notice
This is used in conjunction with the "Notify me by e-mail" option.
By ticking this box, you can notify all users by e-mail as an important notice.
*For more details, refer toIndividual e-mail notification receipt settings.
▼ Notification start date
Sets the start date for posting notices.
Click on the blank space and select a date and time from the calendar.
If no special settings are made, it will be published immediately after creation.
▼ Title
Enter the title of the announcement.
Input is optional.
▼ Contents
Please enter the text of the notification.
▼ Link
You can set up a link in the announcement.
Enter the text to be displayed in the notice in the "Display text" field.
Enter the URL of the link in the URL field.
If you wish to open the link in a separate tab, please tick the "separate tab" box.
Click the "+" icon to add a link, or the "-" icon to remove a link.
▼Notification Contact
Select the recipients to be notified.
The recipient can be selected from all users or a group.
Please tick the desired target.
You can select more than one group.
- Users who do not belong to the selected group will not be sent
- If you create a group after registering a notice, it will not be sent unless you add it to the destination again
Save the settings.
Archive Group Display Settings
You can choose whether or not to display archived groups in the list of notifications.
Tick "Show archives" to display them.
*With archives hidden, ticking "Select All" will not select archived groups.
Even if you archive a group that has been ticked in the Notification Destination, you will still be notified of the relevant notification.
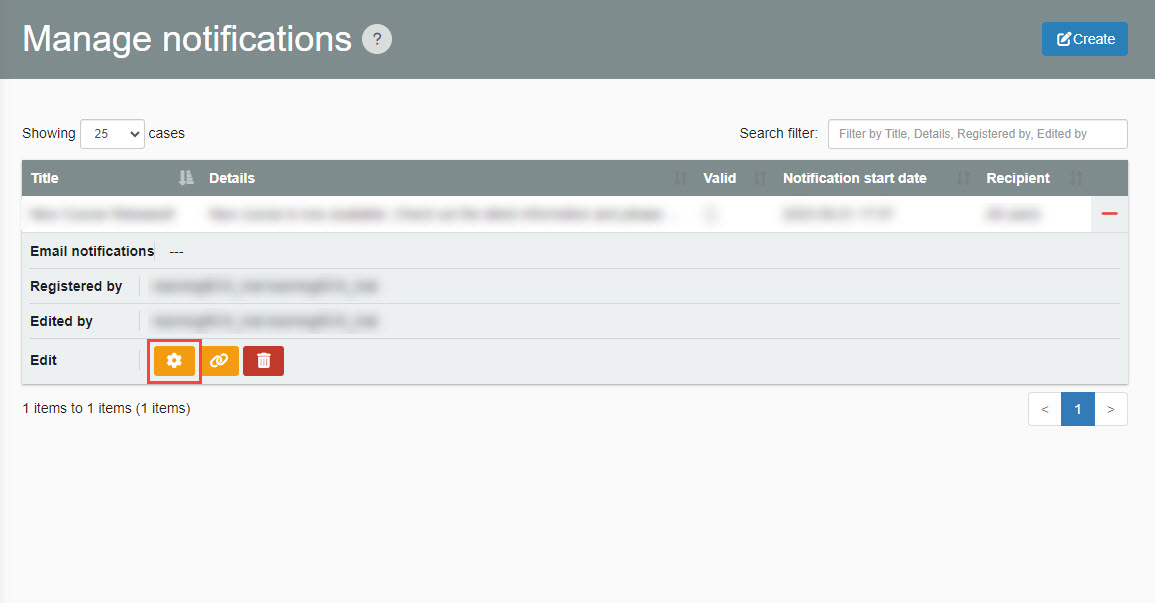
Edit Notices
01. Open registration/edit screen
Click on the "+" icon to the right of the target announcement to open the menu.
Next, click on the gear icon.
02. Edit
The items to be edited are the same as when creating a new item,Sign up for new announcements..
Save the settings.
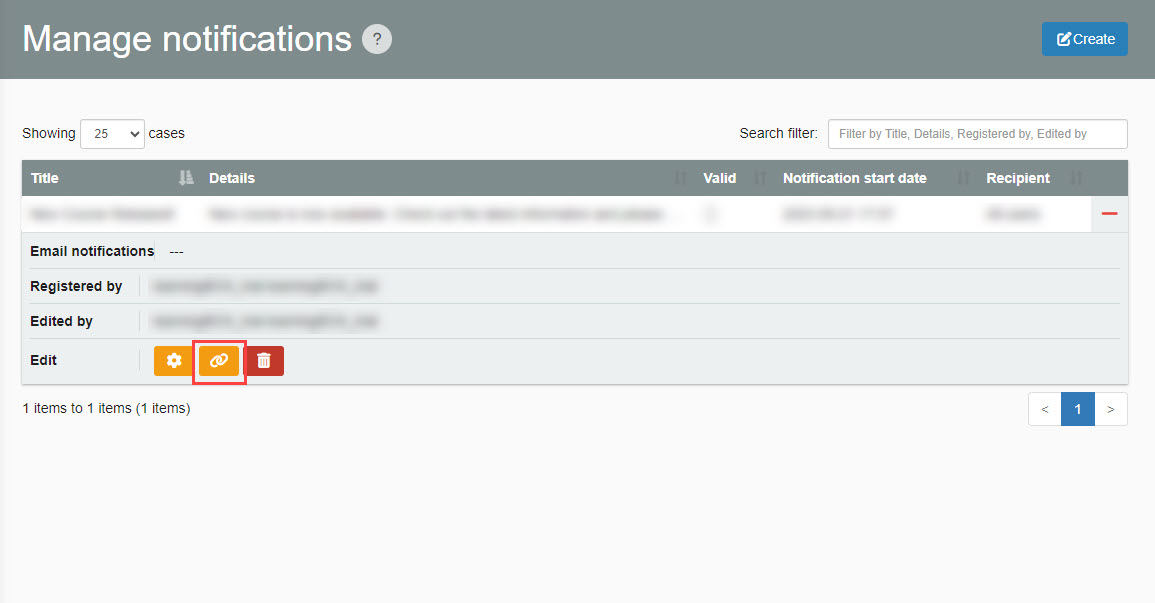
Setting Links
Only the settings for notification links can be edited.
01. Open the link setting screen.
Click on the link icon to the right of the subject notice.
02. Edit contents
The following pop-up will open, please edit the content.
*For more details, refer toSign up for new announcements..
Save the settings.

Delete Notification
01. Deletion of Notices
Click on the trash can icon to the right of the subject notice.

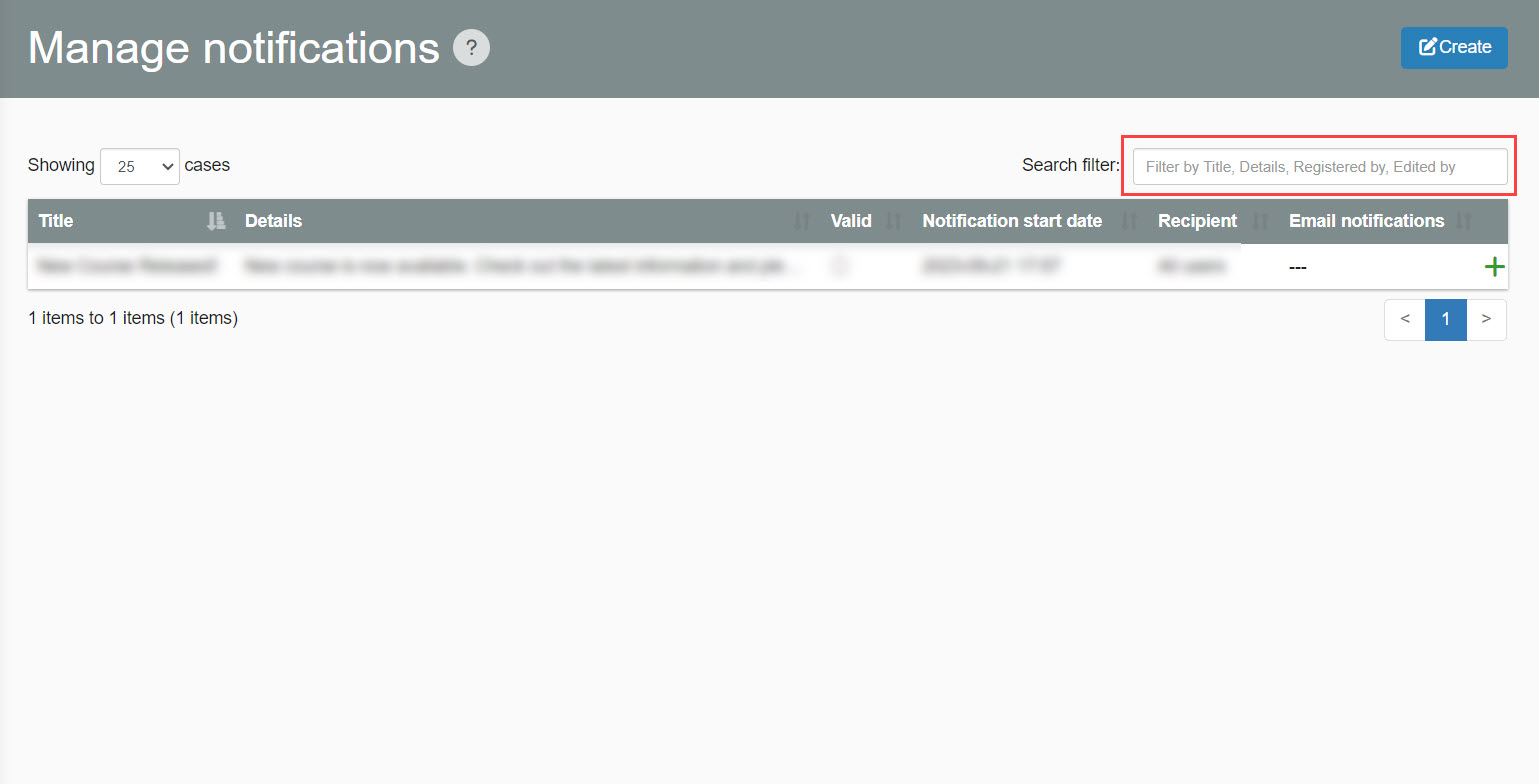
Search Notices
01. Enter search filters
You can search for notices using the search filter in the upper right corner of the "Manage Notices" screen.
*Please enter one of the following keywords: "title/registration details/registrant/editor".
Displaying Notices
This section explains how the notices you create will appear on the dashboard and notification bar.
▼Display in dashboard
It will appear in the "Announcements" panel on the dashboard.

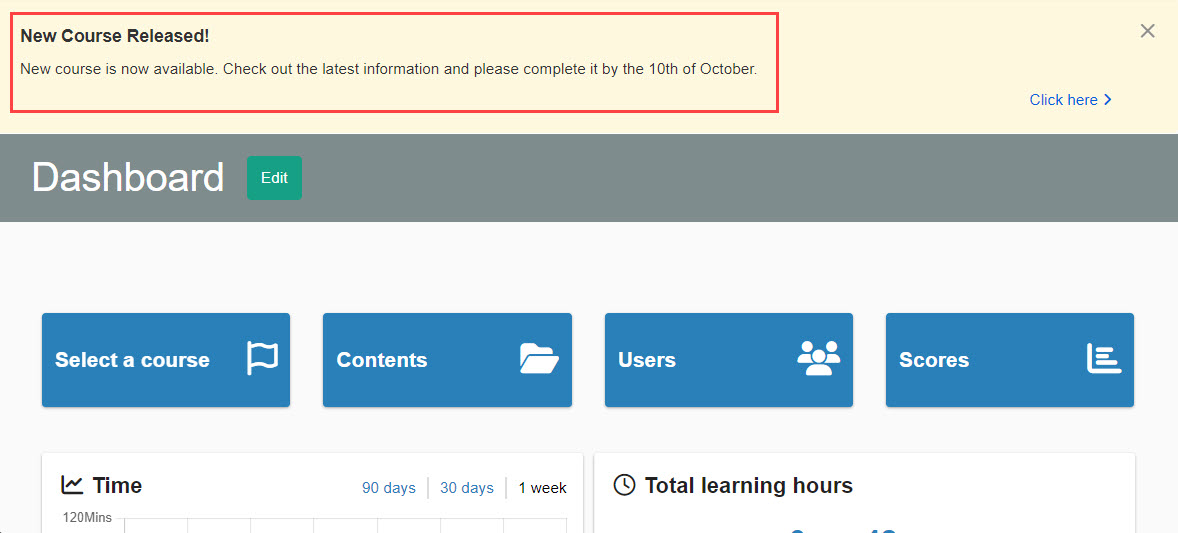
▼ Notification bar display
It appears as a notification bar at the top of the screen.
▼ Mail
Notifications will be sent to your registered e-mail address.
