Page Designer
This function allows you to change the design of the top page.
You can change the images and text by yourself according to the specified template.
Designs created with the Page Designer and designs written in HTML/CSS cannot be used at the same time.
In addition, we are unable to address any issues that arise from your use of the Page Designer.
For more information on issues that may arise, please contact here.
RequirementShared server/customized or dedicated server
Contents
How to use Page Designer
01Open the Site Customizer
In the side menu, select "System Settings" > "Site customizer".
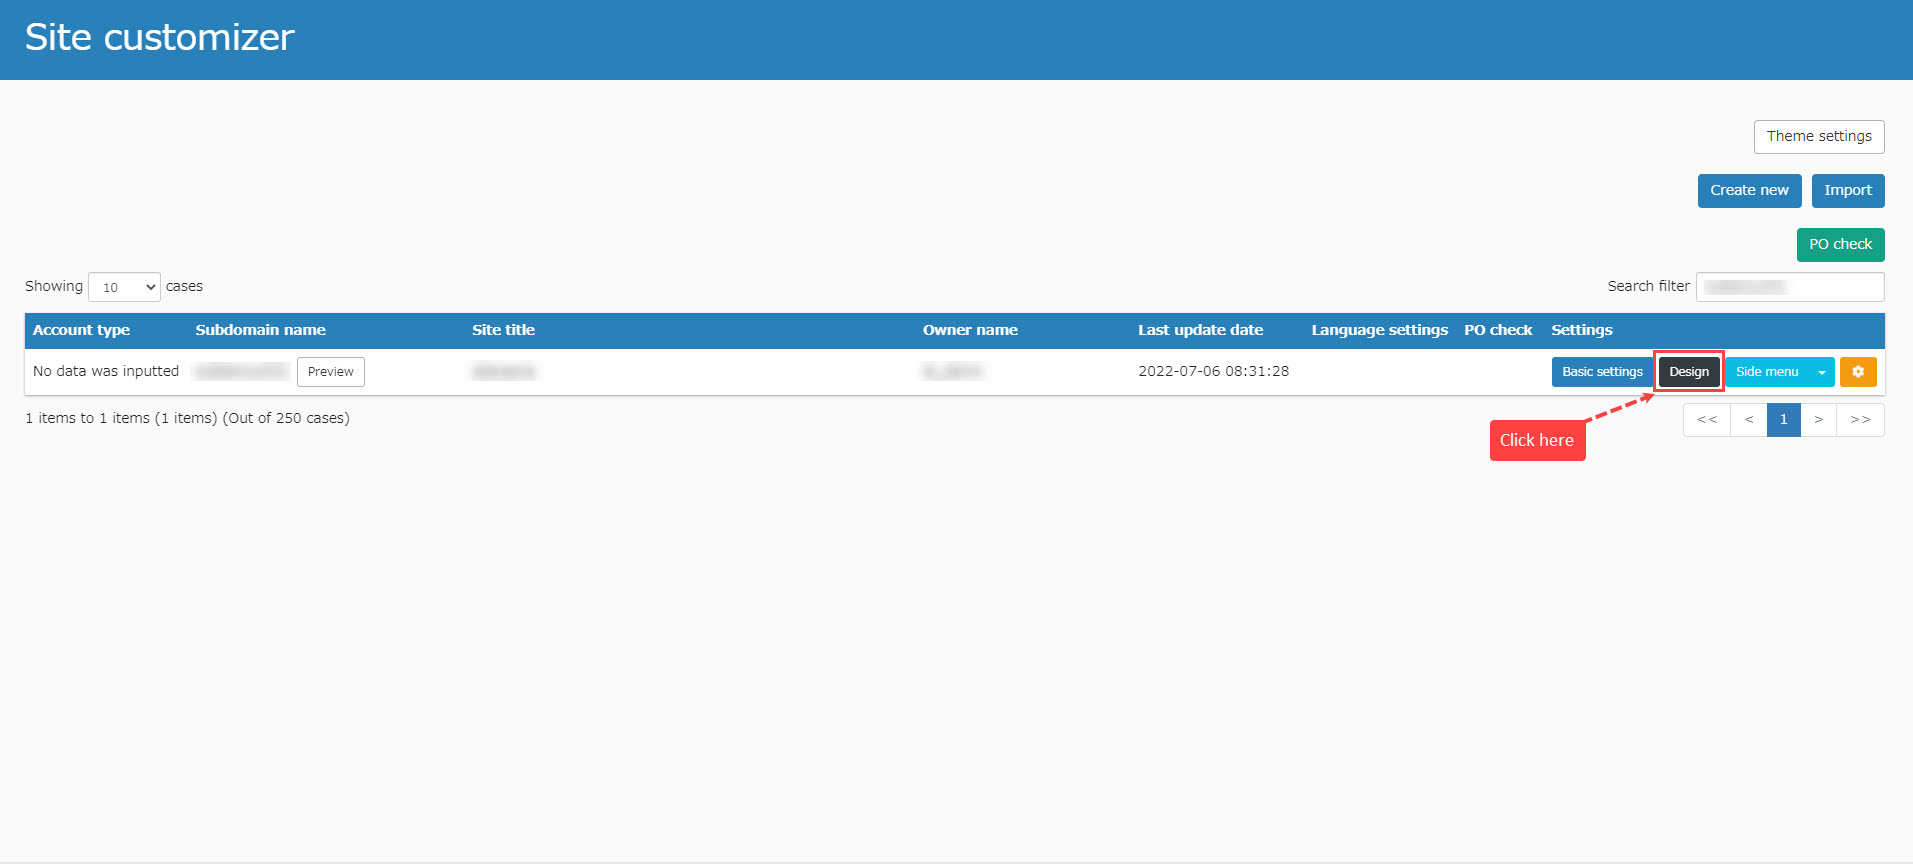
02Open Design Screen
Click on the "Design" button.
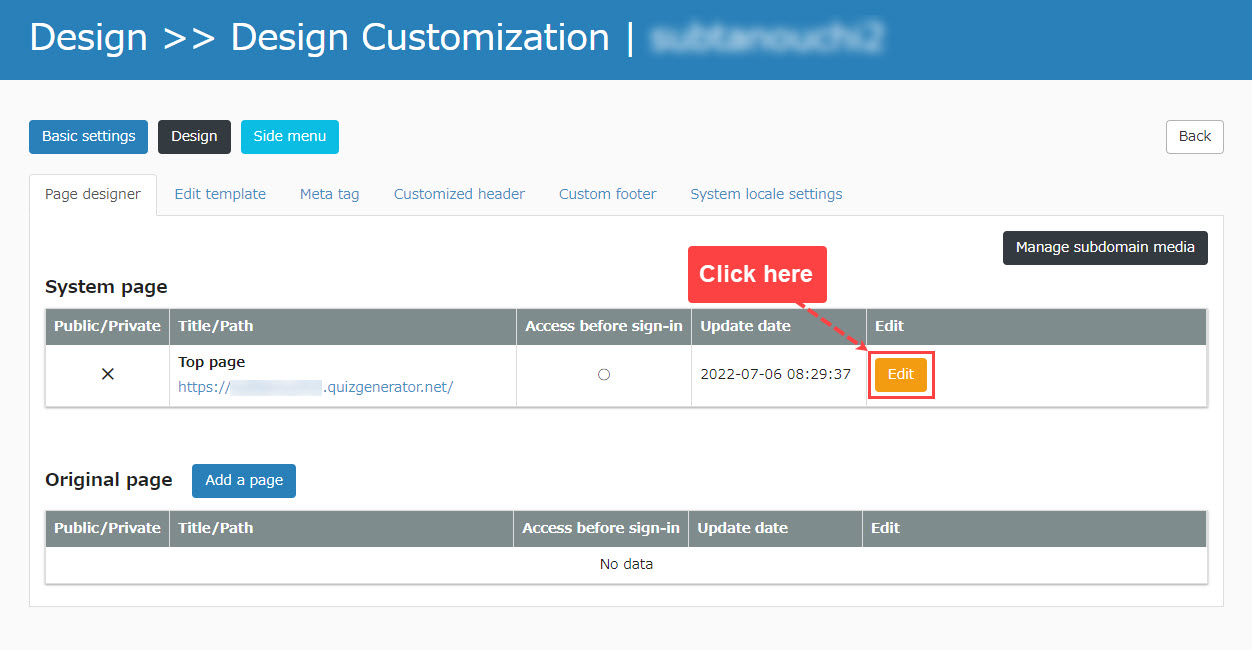
03Open the "Page Designer."
Click on the "Edit Top Page."
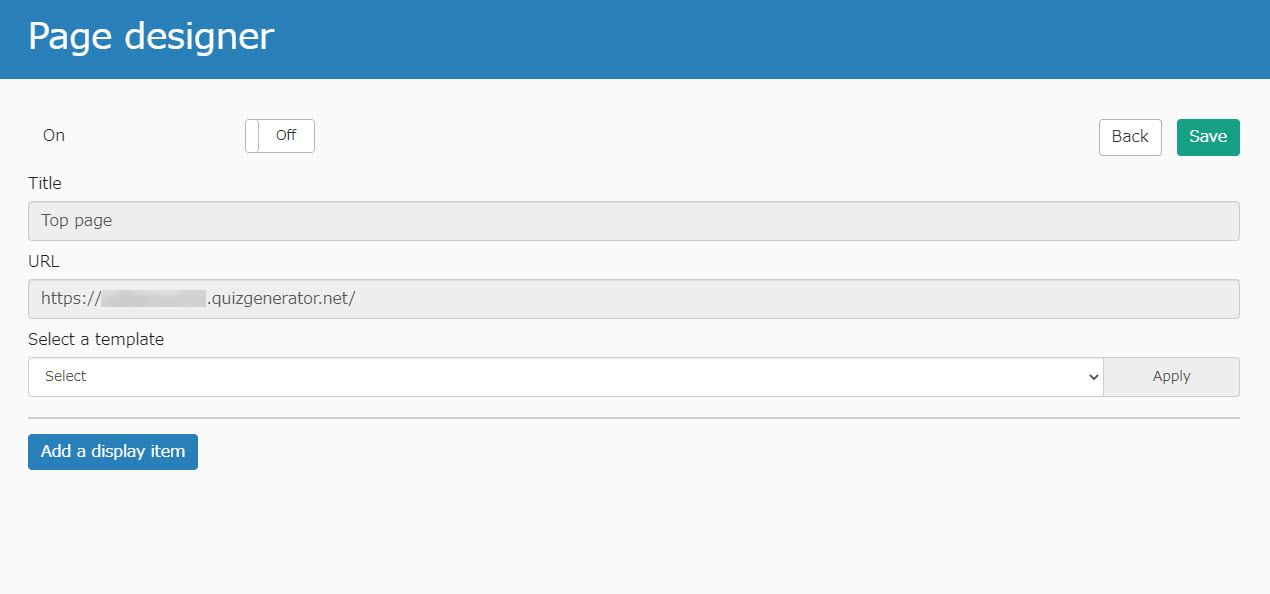
04Page Designer Screen
It is shown as below.
How to change the design
01Select a template
Select a template from the pull-down menu and click "Apply."
As an example, the one for certification and sales (TEMPLATE-B) is selected.
※Panels can be added or deleted later.
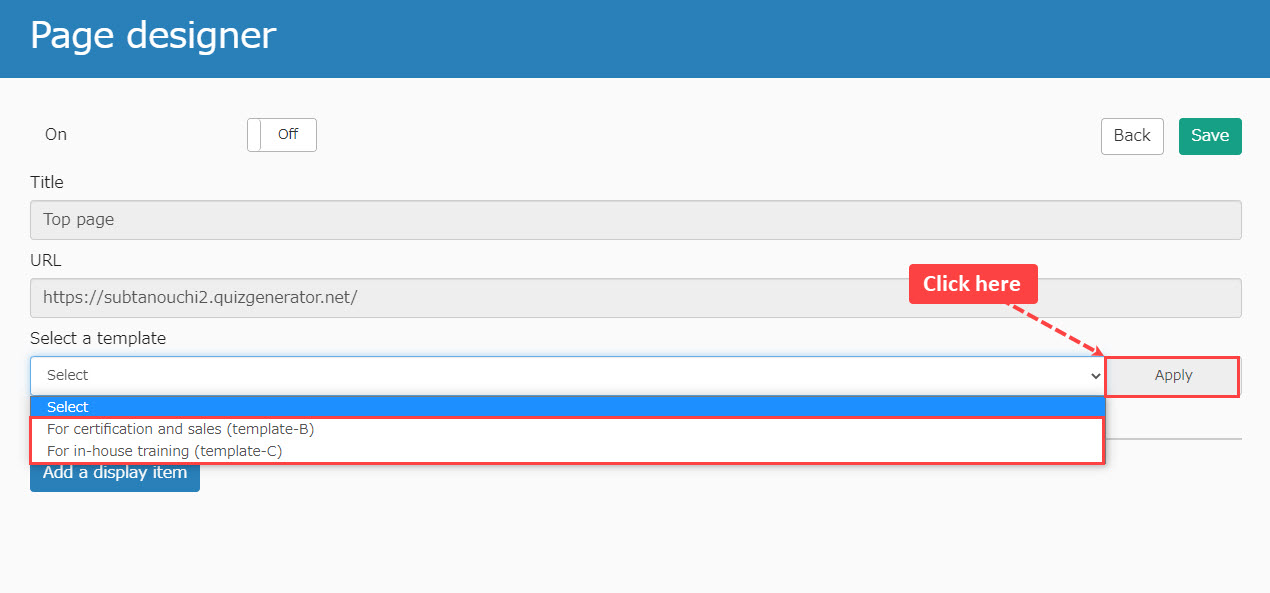
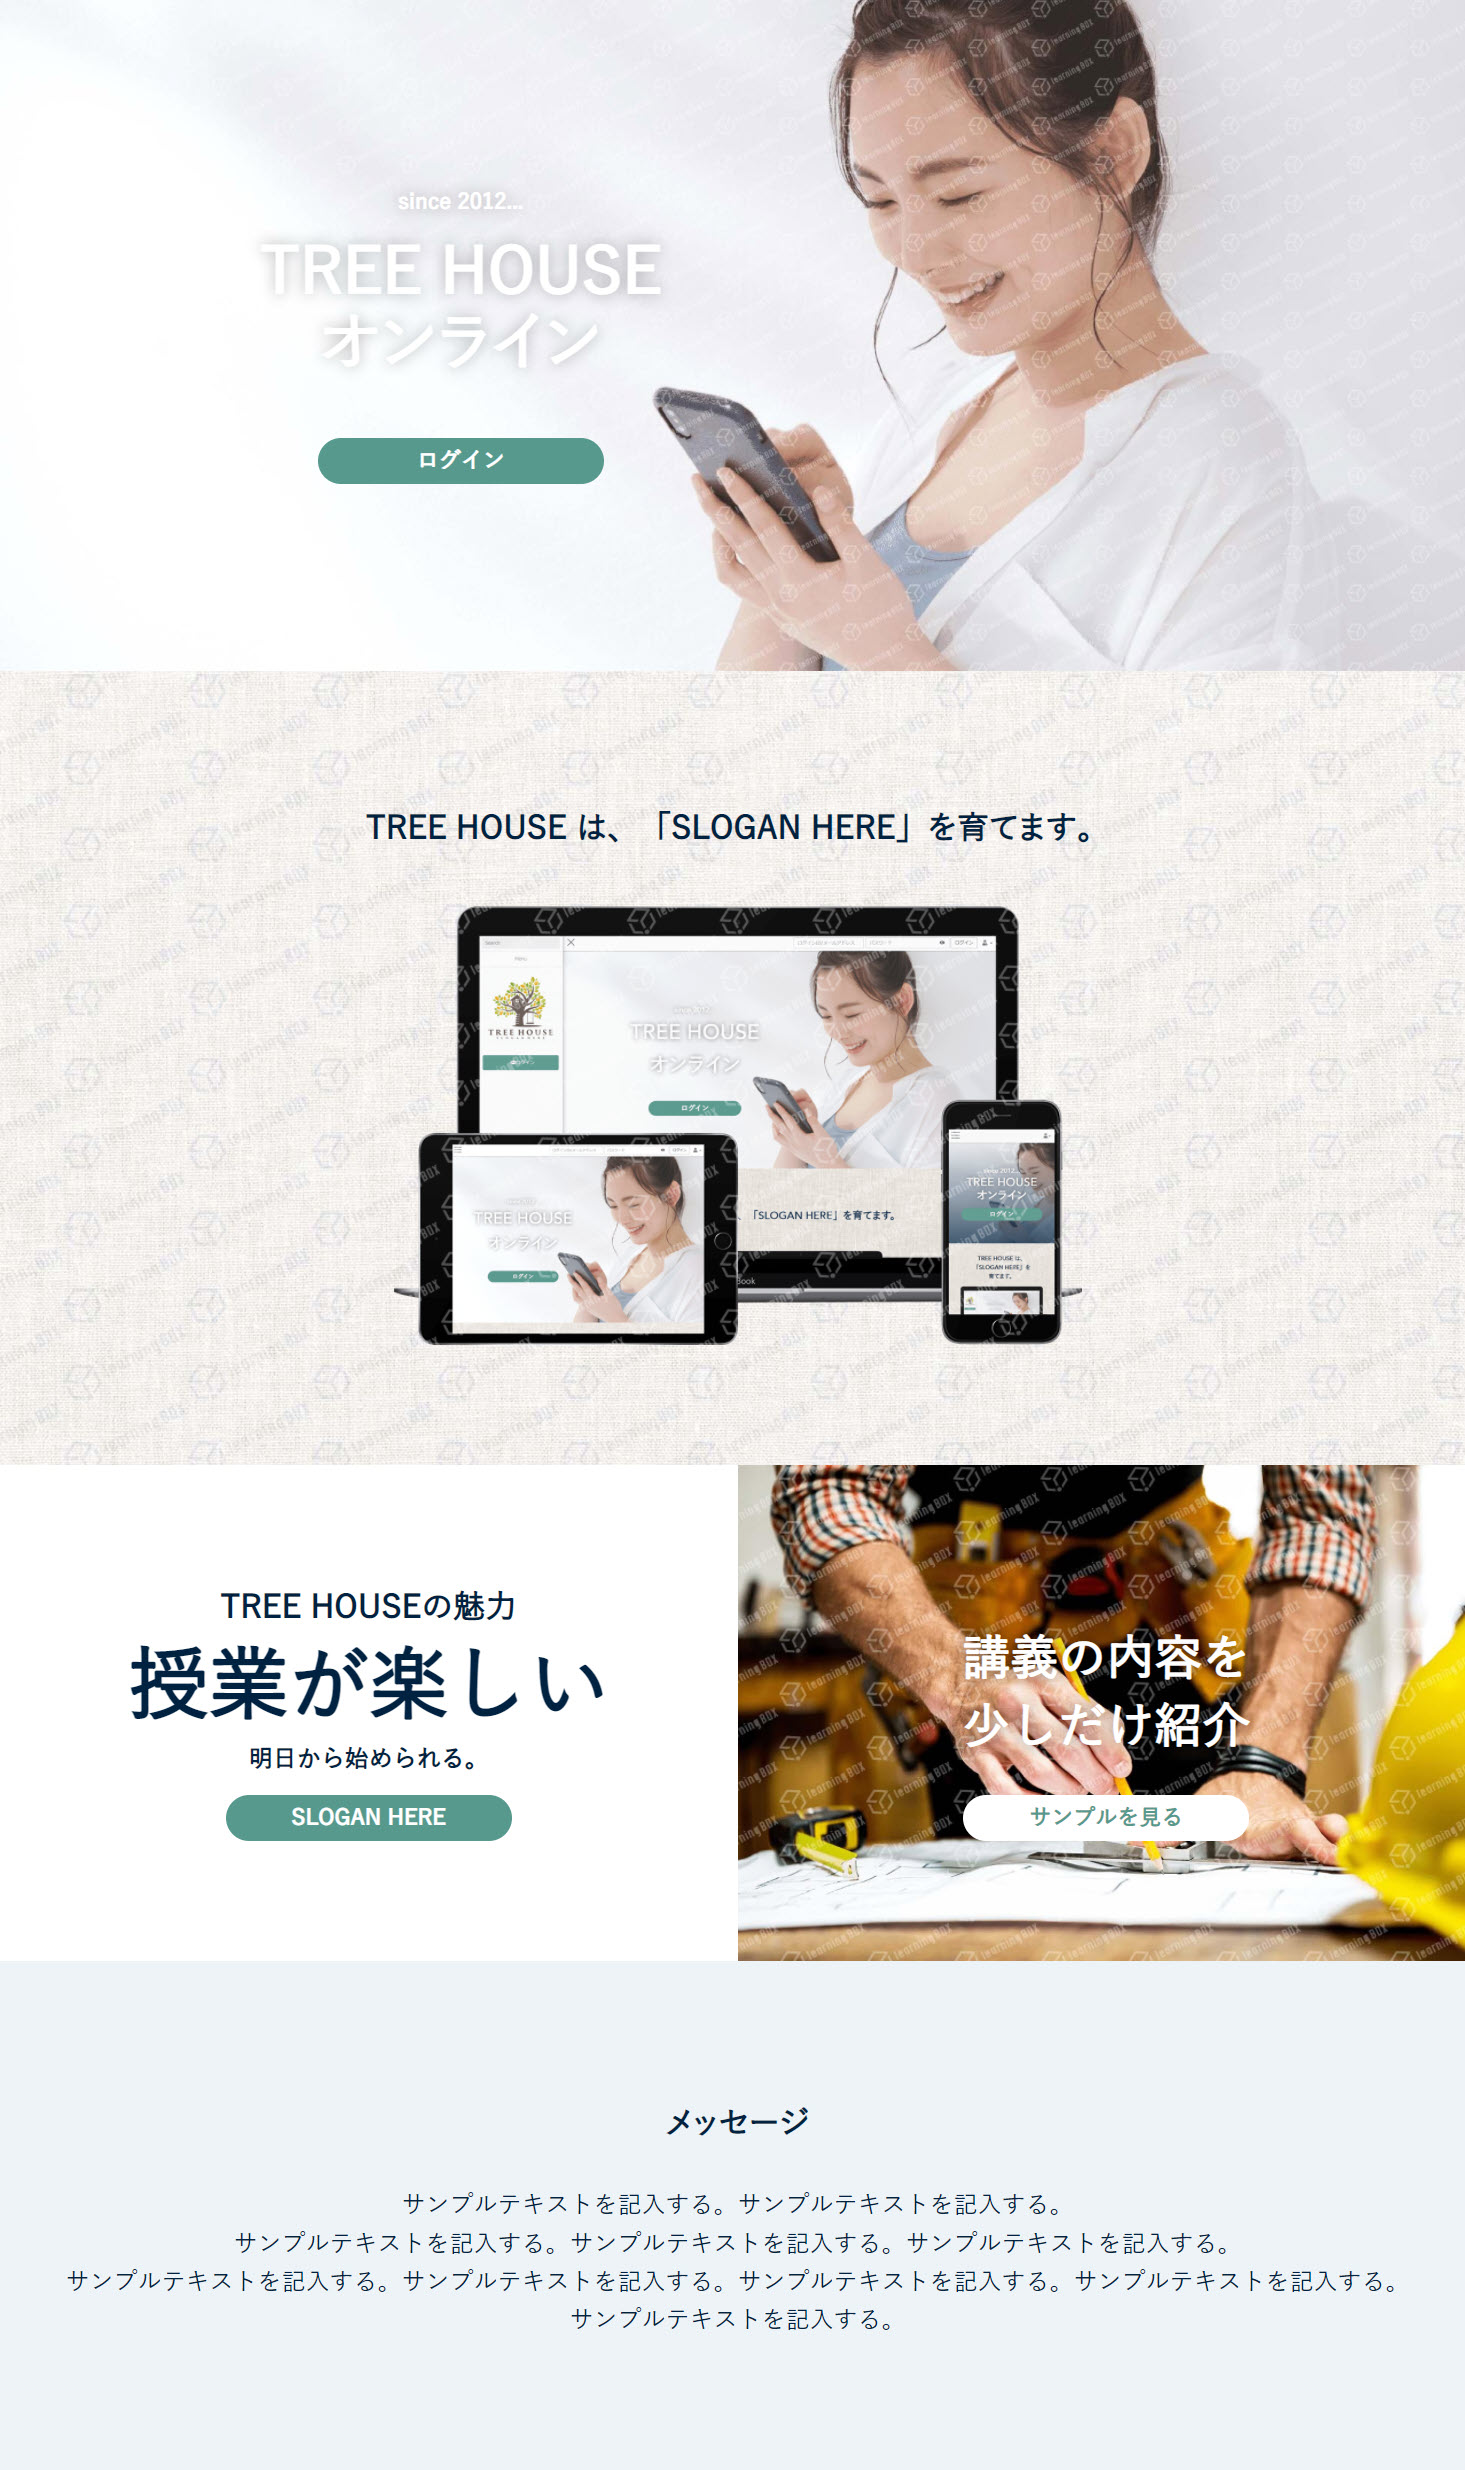
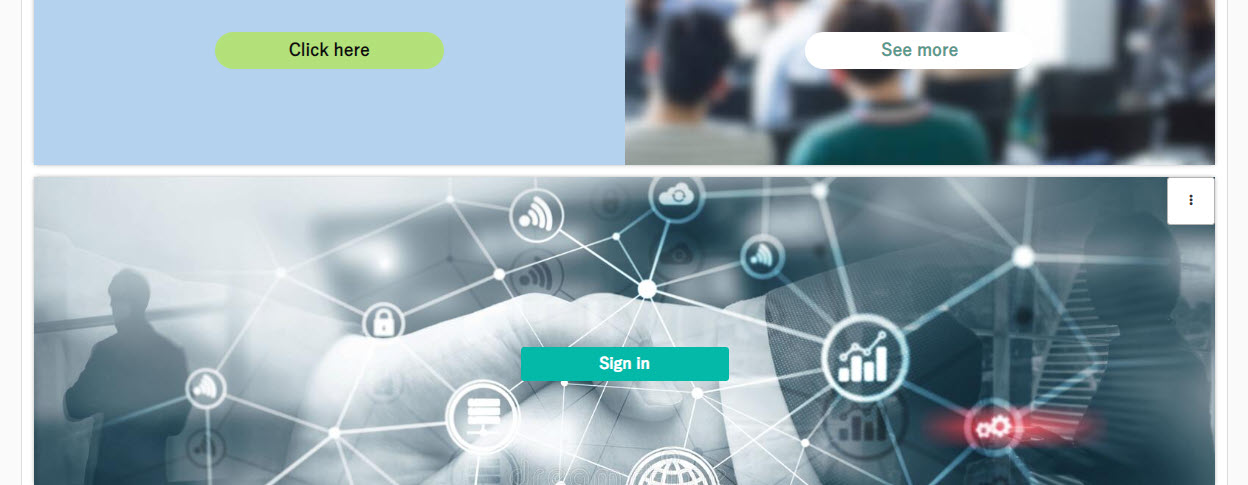
For certification and sales (TEMPLATE-B)
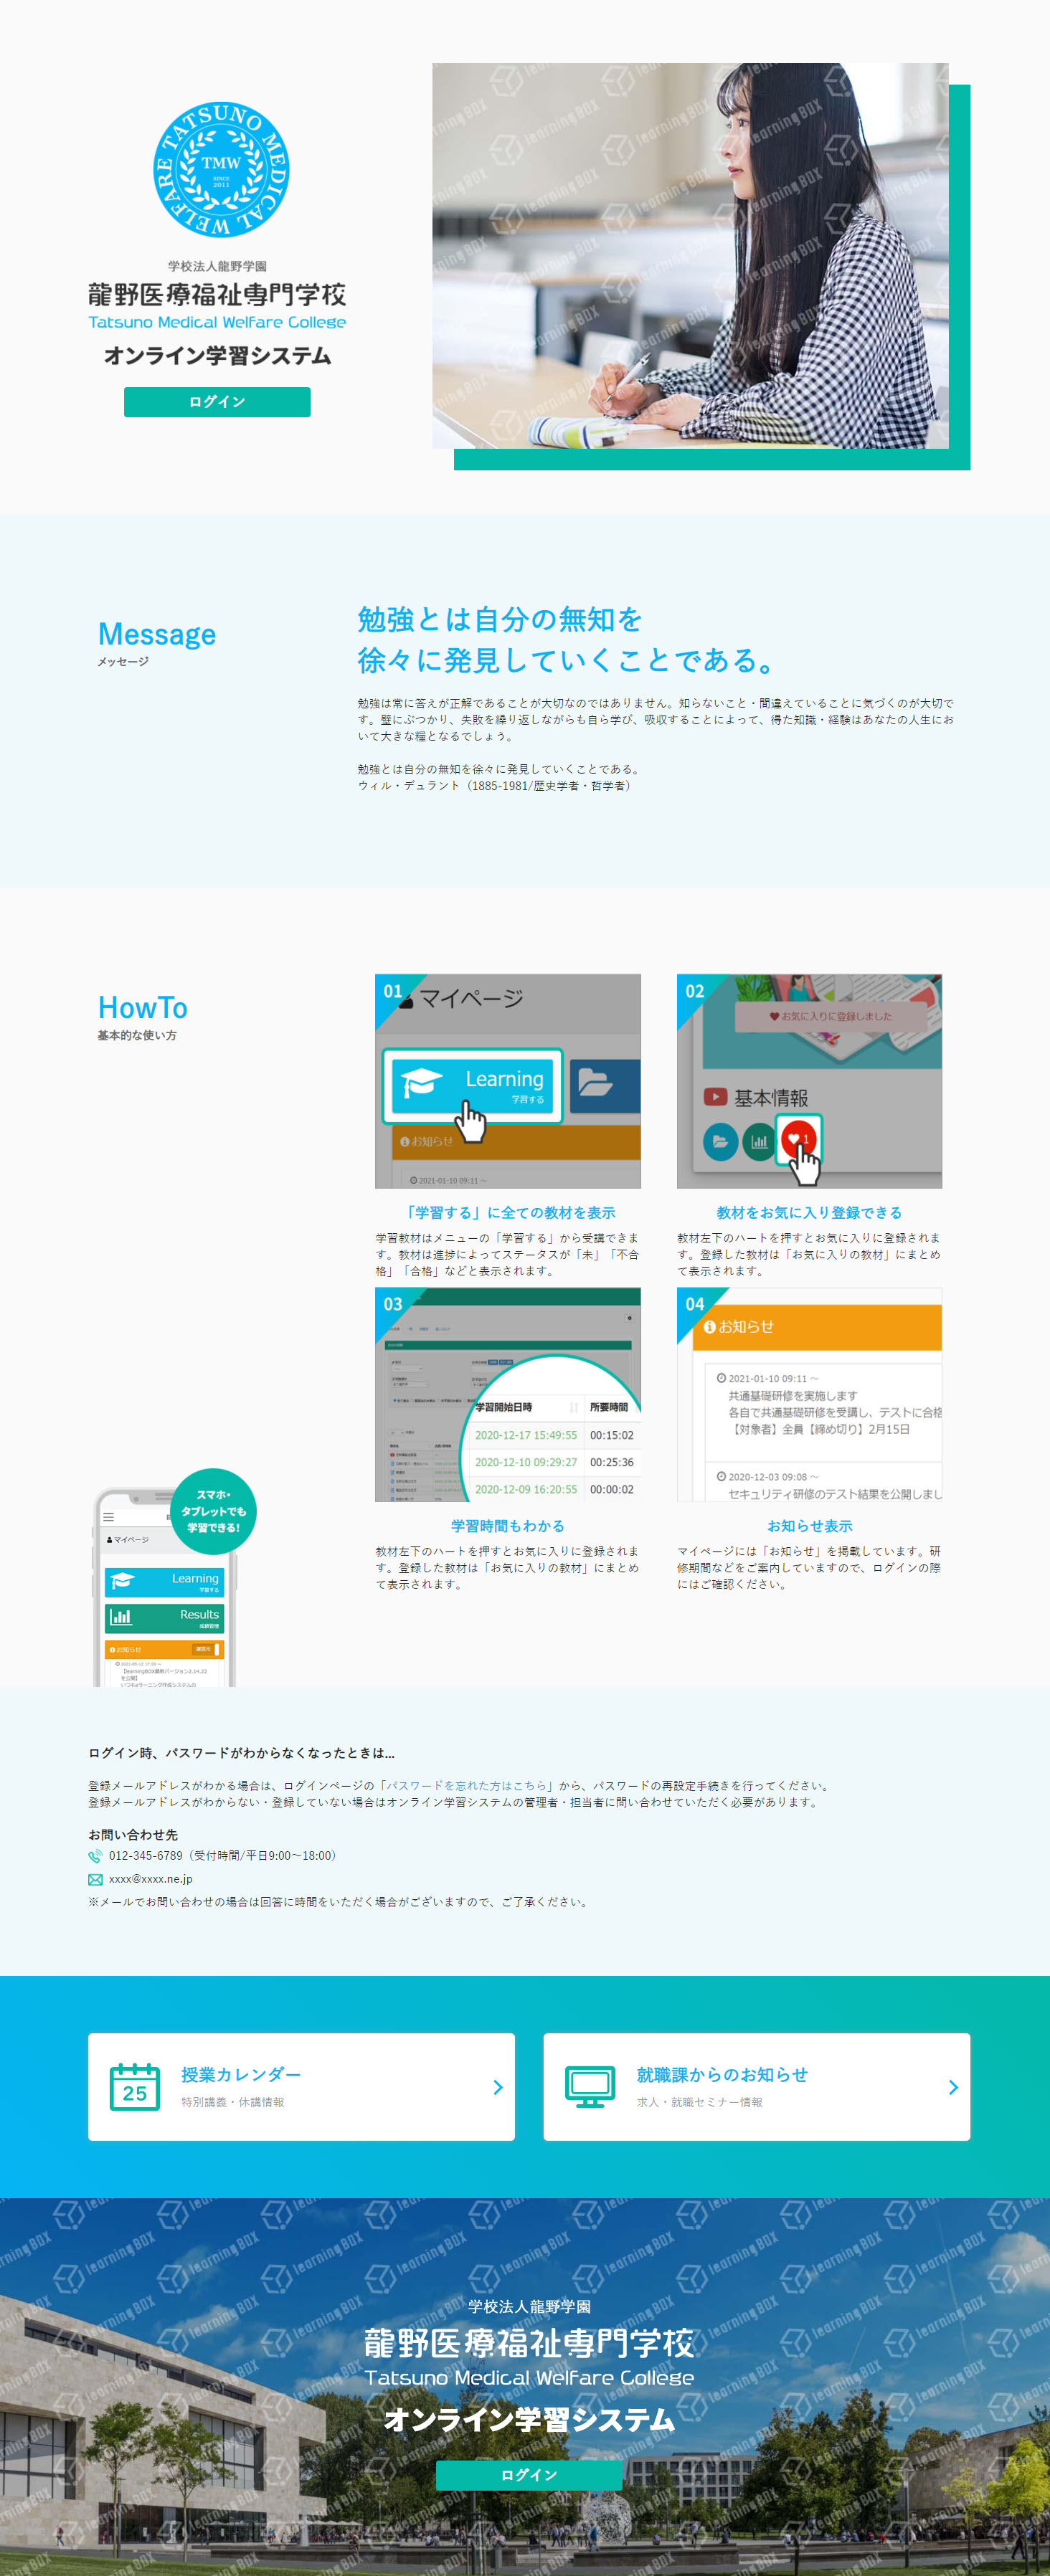
For in-house training (template-C)
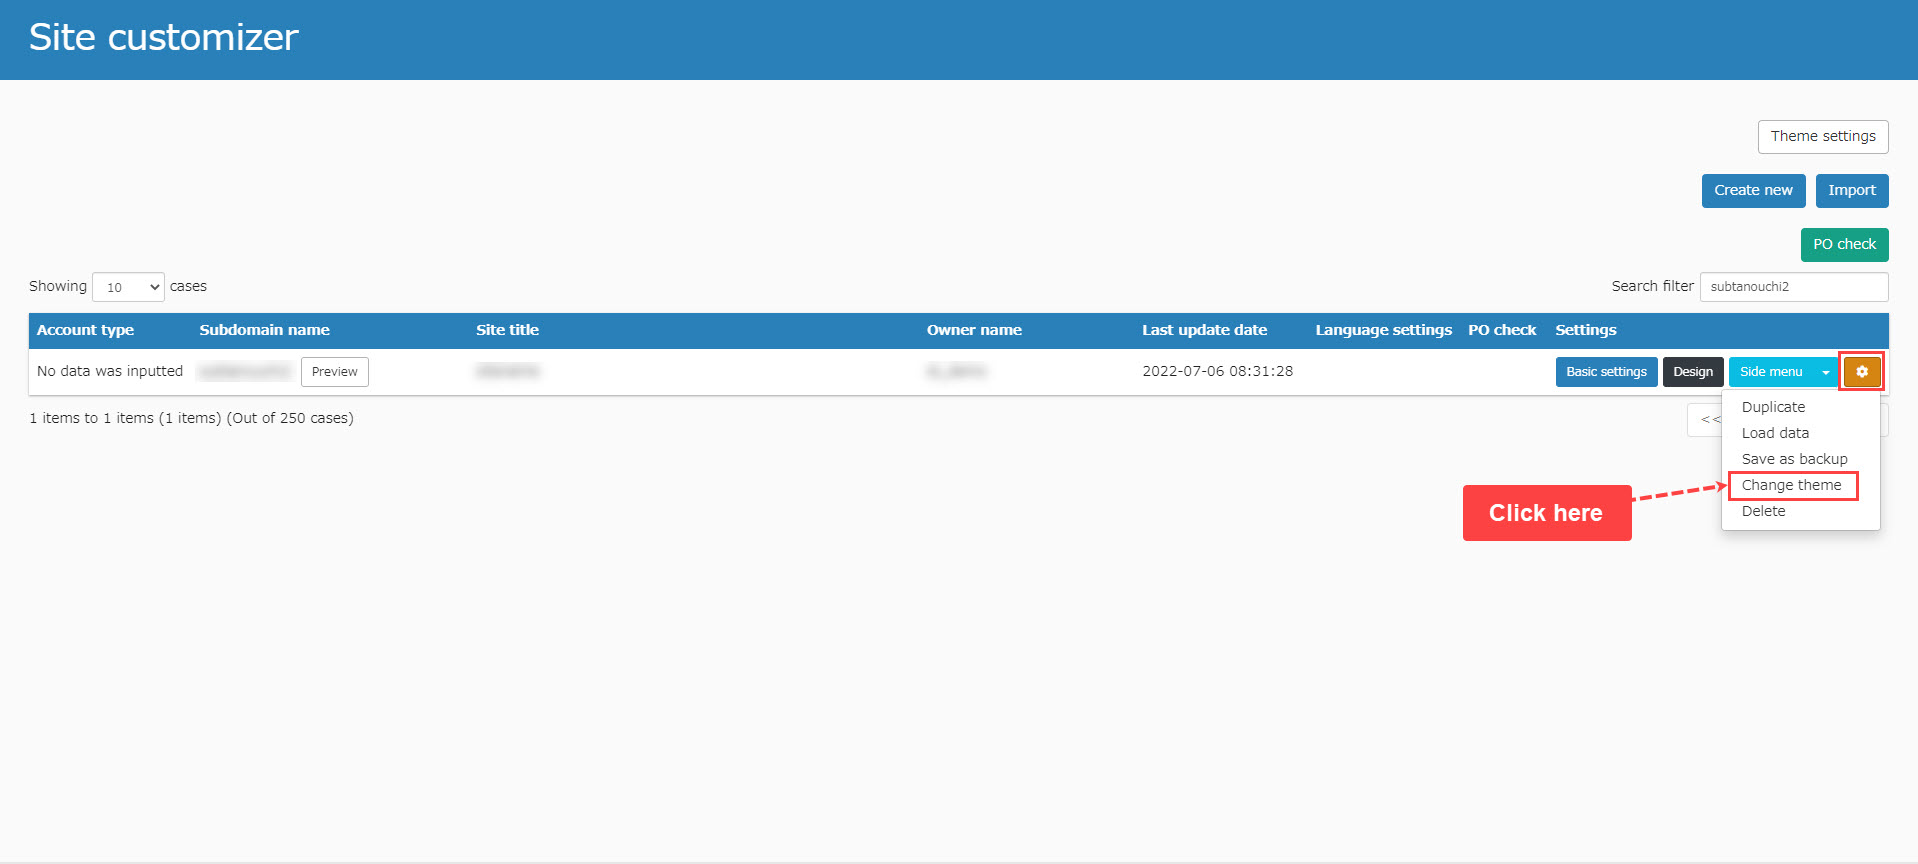
To change the login screen to (template-A)
This system does not allow you to change to (template-A) on the page designer template selection screen.
To change to template-A, use the "Site Customizer," go to the gear icon, click on the "Change Theme" button and select "template-A" after turning off the page designer.
※For information on changing the image of the login screen, go toSite Customizer Basic Settings.
02Edit panels
Edit each panel.
Click on the "︙" icon in the upper right corner of the panel, and go to "Edit."

Upload Image
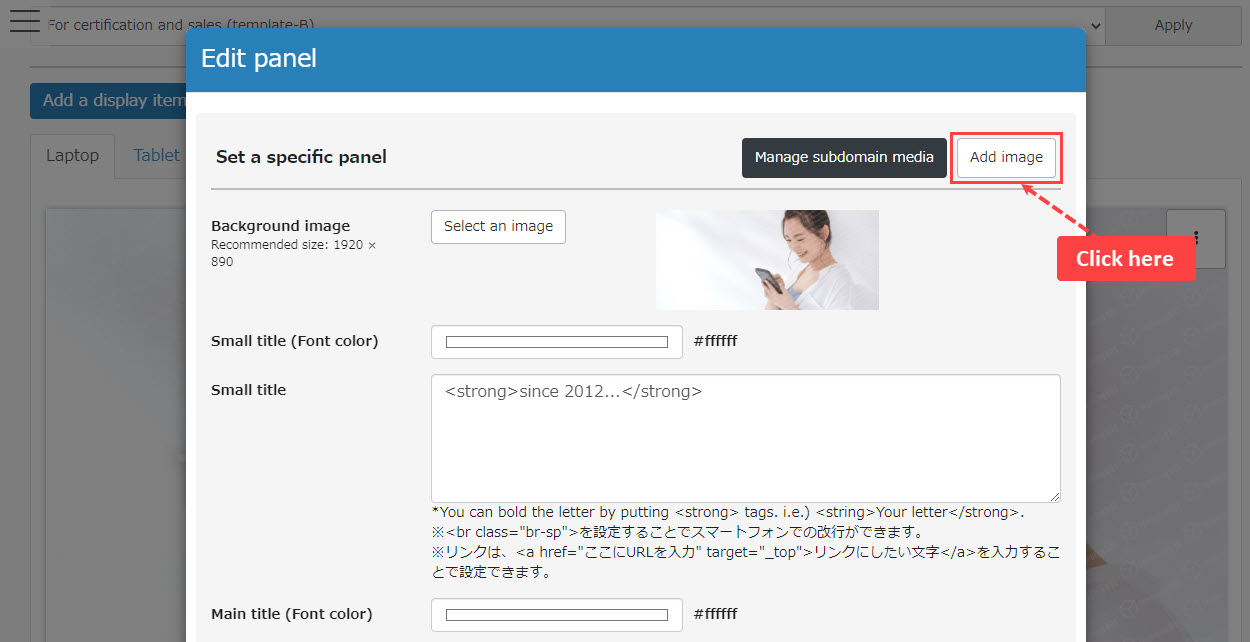
01Add images ①
Before editing the design, add images to be used in the system.
Click on "Add Image."
※If you add all images first, it will make later work smoother.
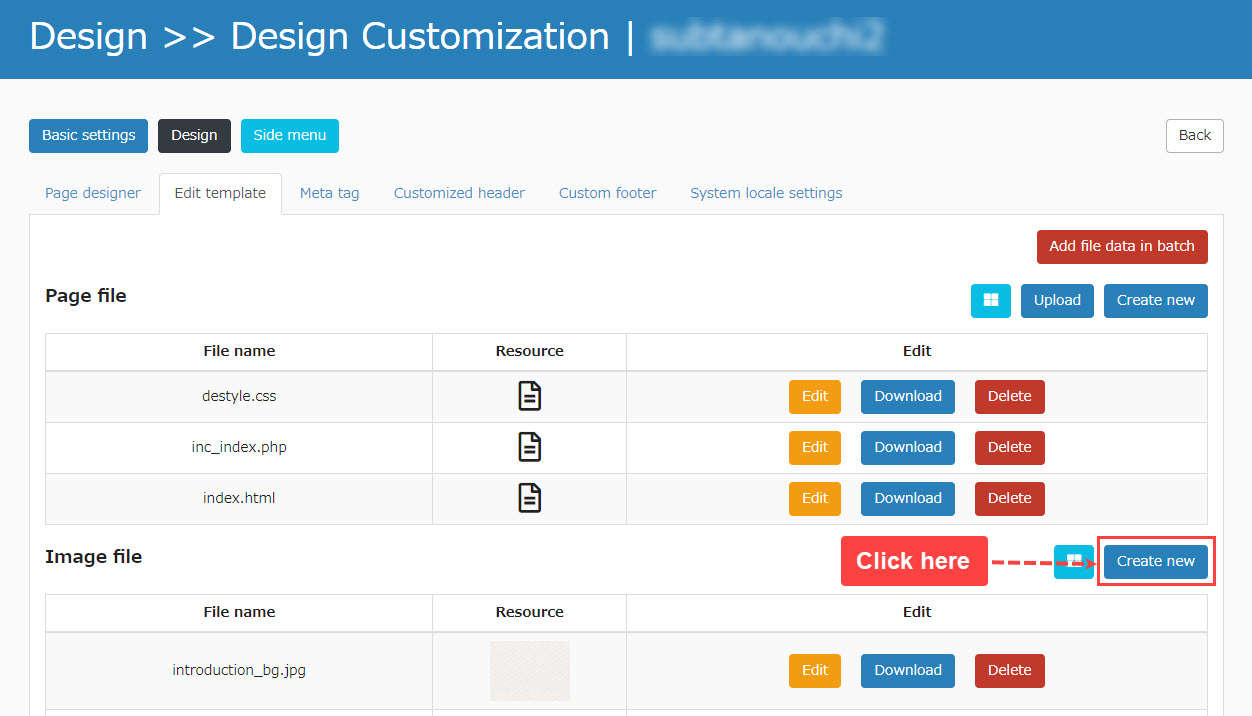
02Add images ②
The following screen will appear in a separate tab.
Click on "Create new" for the image file.
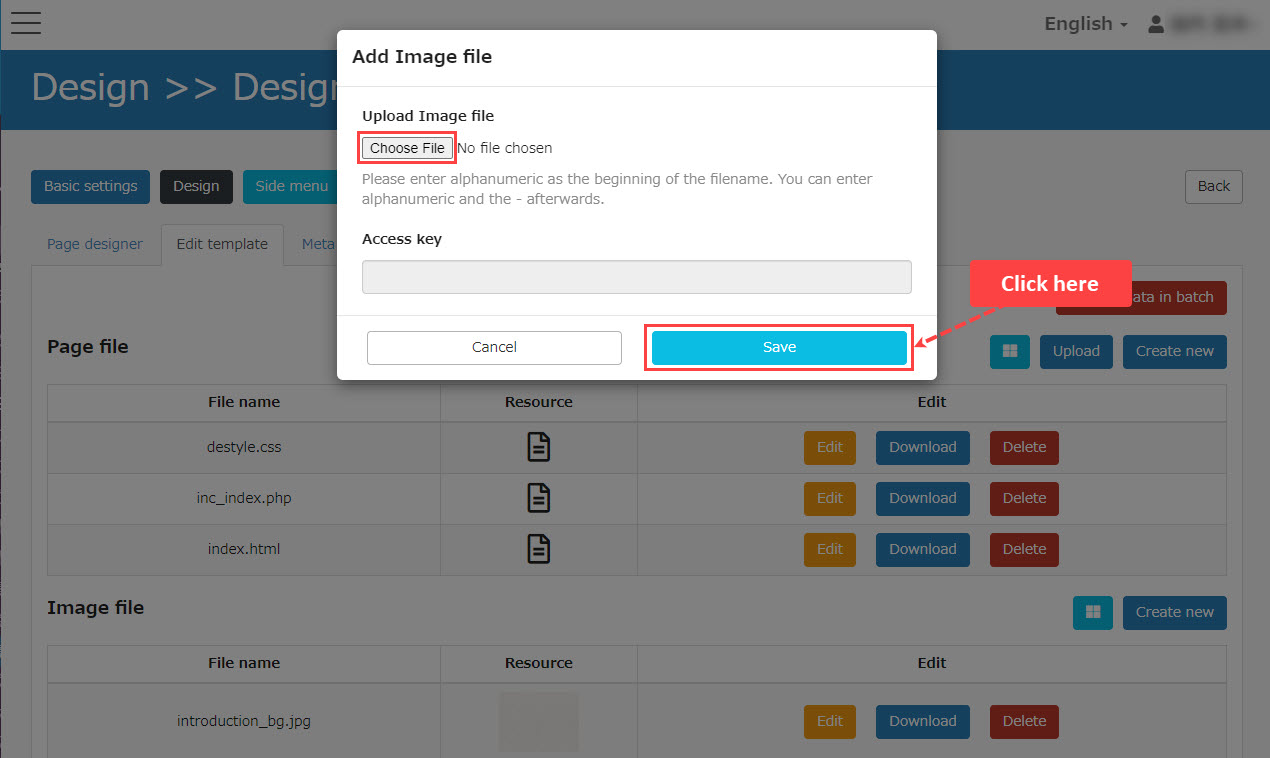
03Add images ③
Select an image from "Select File" and save it.
Select an image from "Select File" and save it.
Edit individual panels
01Settings
Go back to the Page Designer screen and set each item (※Items differ for each panel).
After the settings, click on "Return to Panel List.
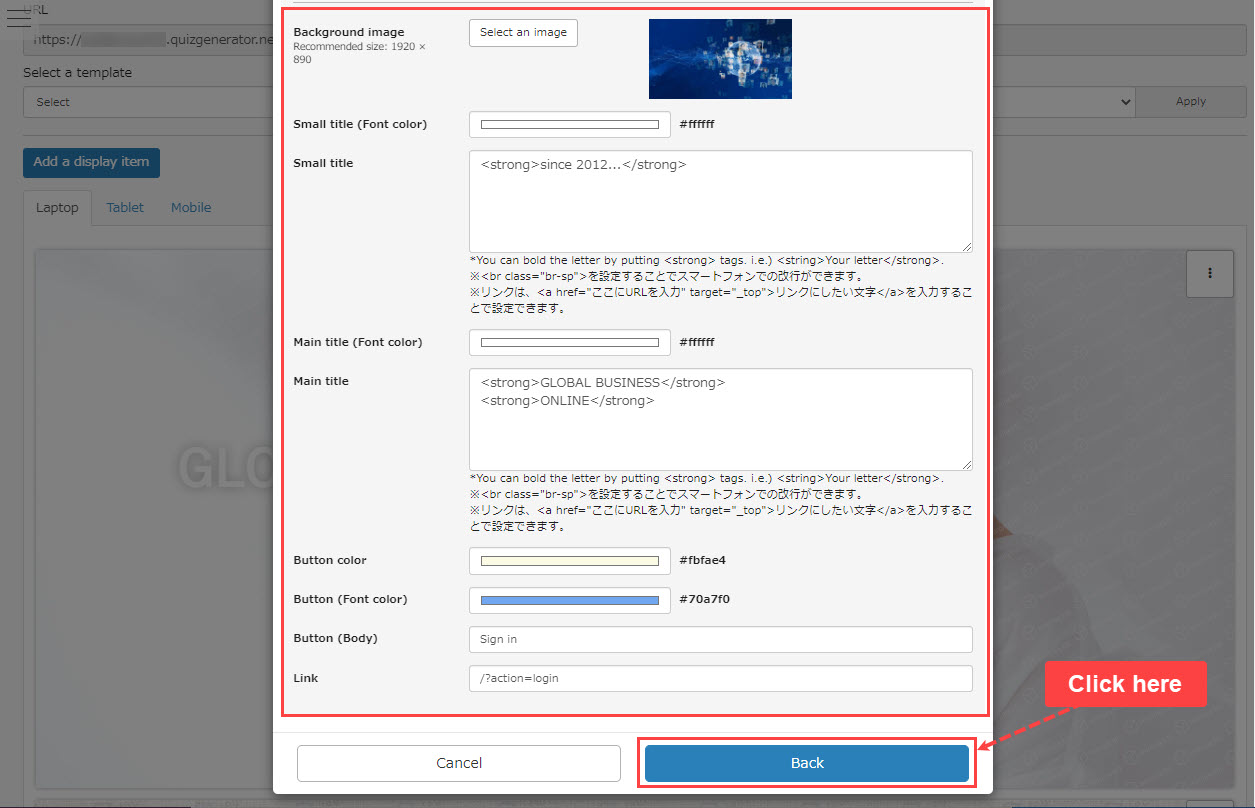
※If you change the link to the "Login Button", you will not be able to go to the login screen even if you click on it.
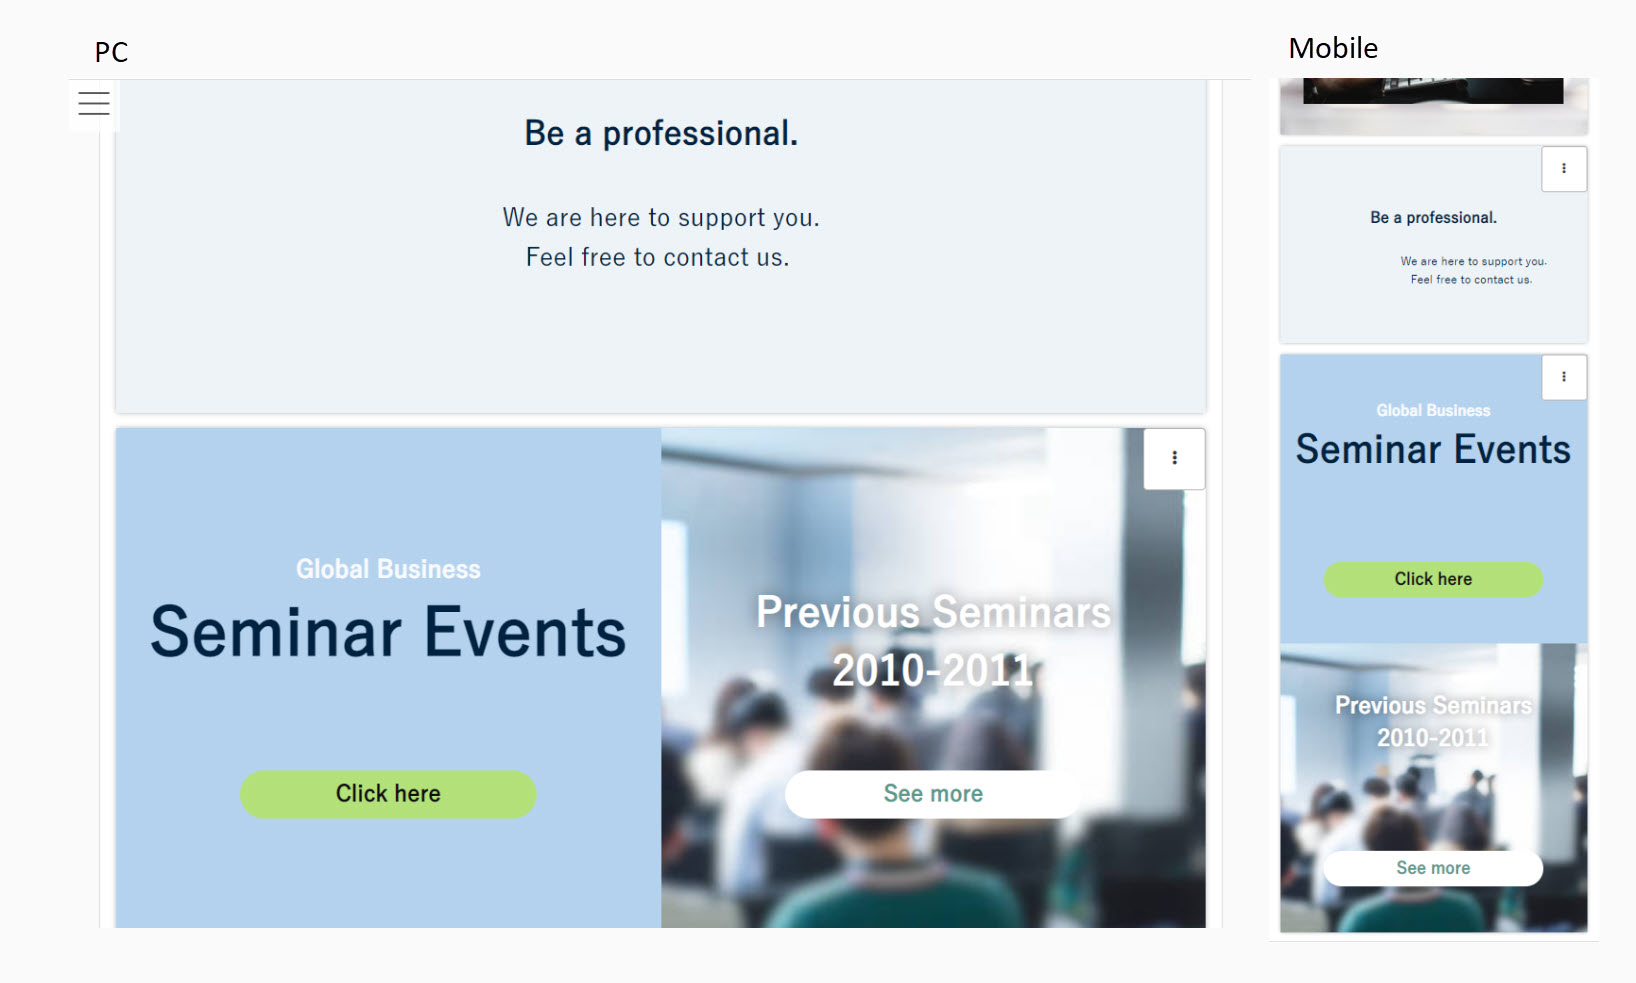
02Preview the screen
You can check how it is displayed on each screen of tablet/smartphone.
Set up the other panels in the same way.

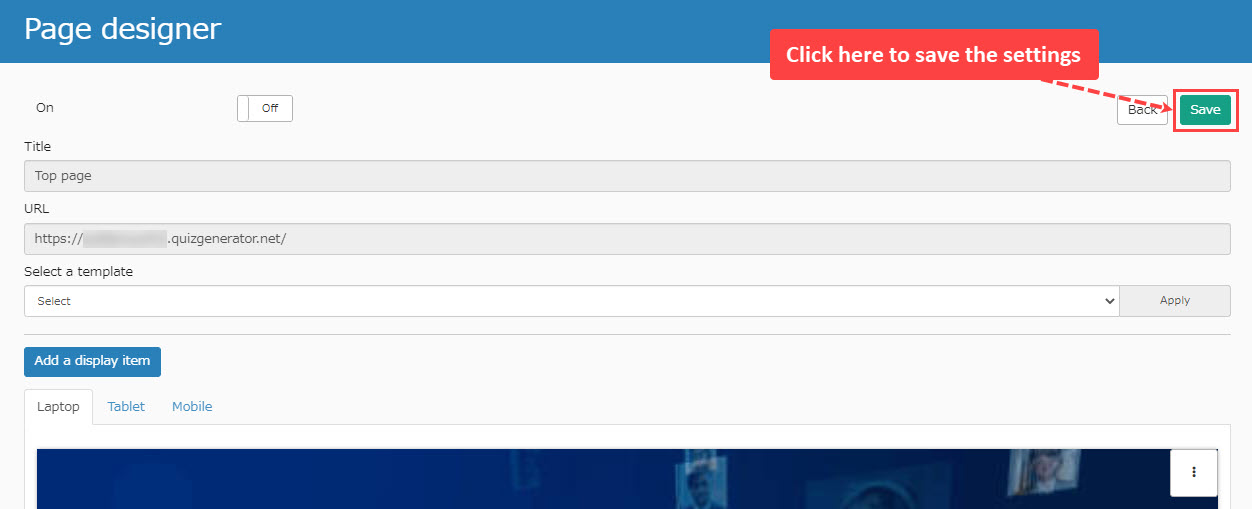
03Save Designs
Click "Save and Publish."
※Attention: the design will not be saved unless you click here.
Open the design you created
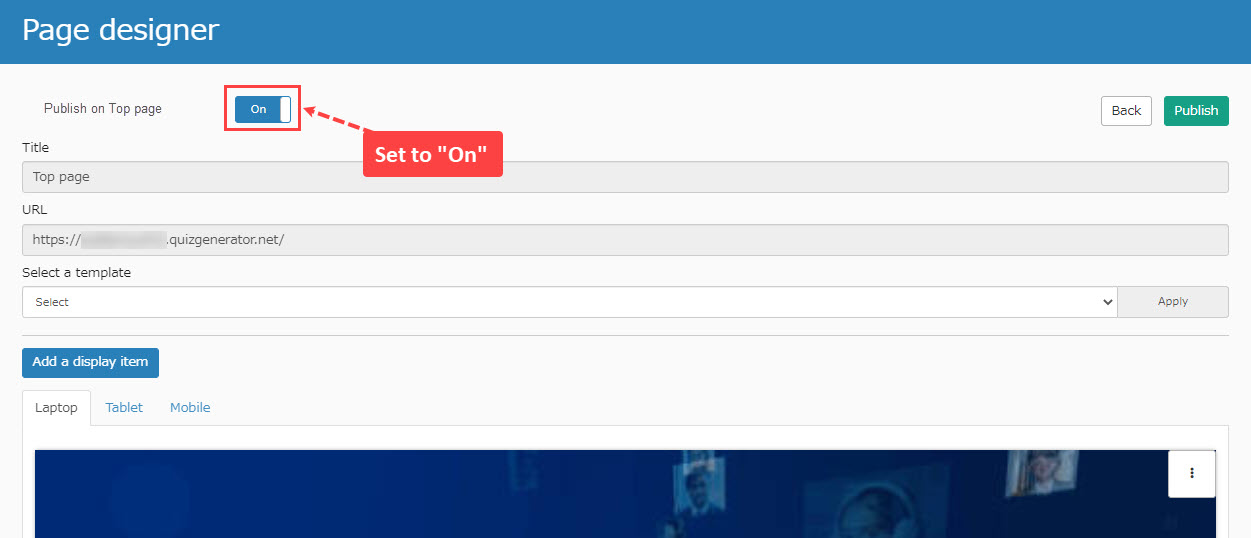
01Publication settings
You can choose whether to reflect the design on the top page.
Turning the toggle On reflects the page designer's design, while turning it Off reflects the HTML design of the page file.
Replace/add panels
Panel replacement
01Replace panel ①
Panels can be moved by dragging.
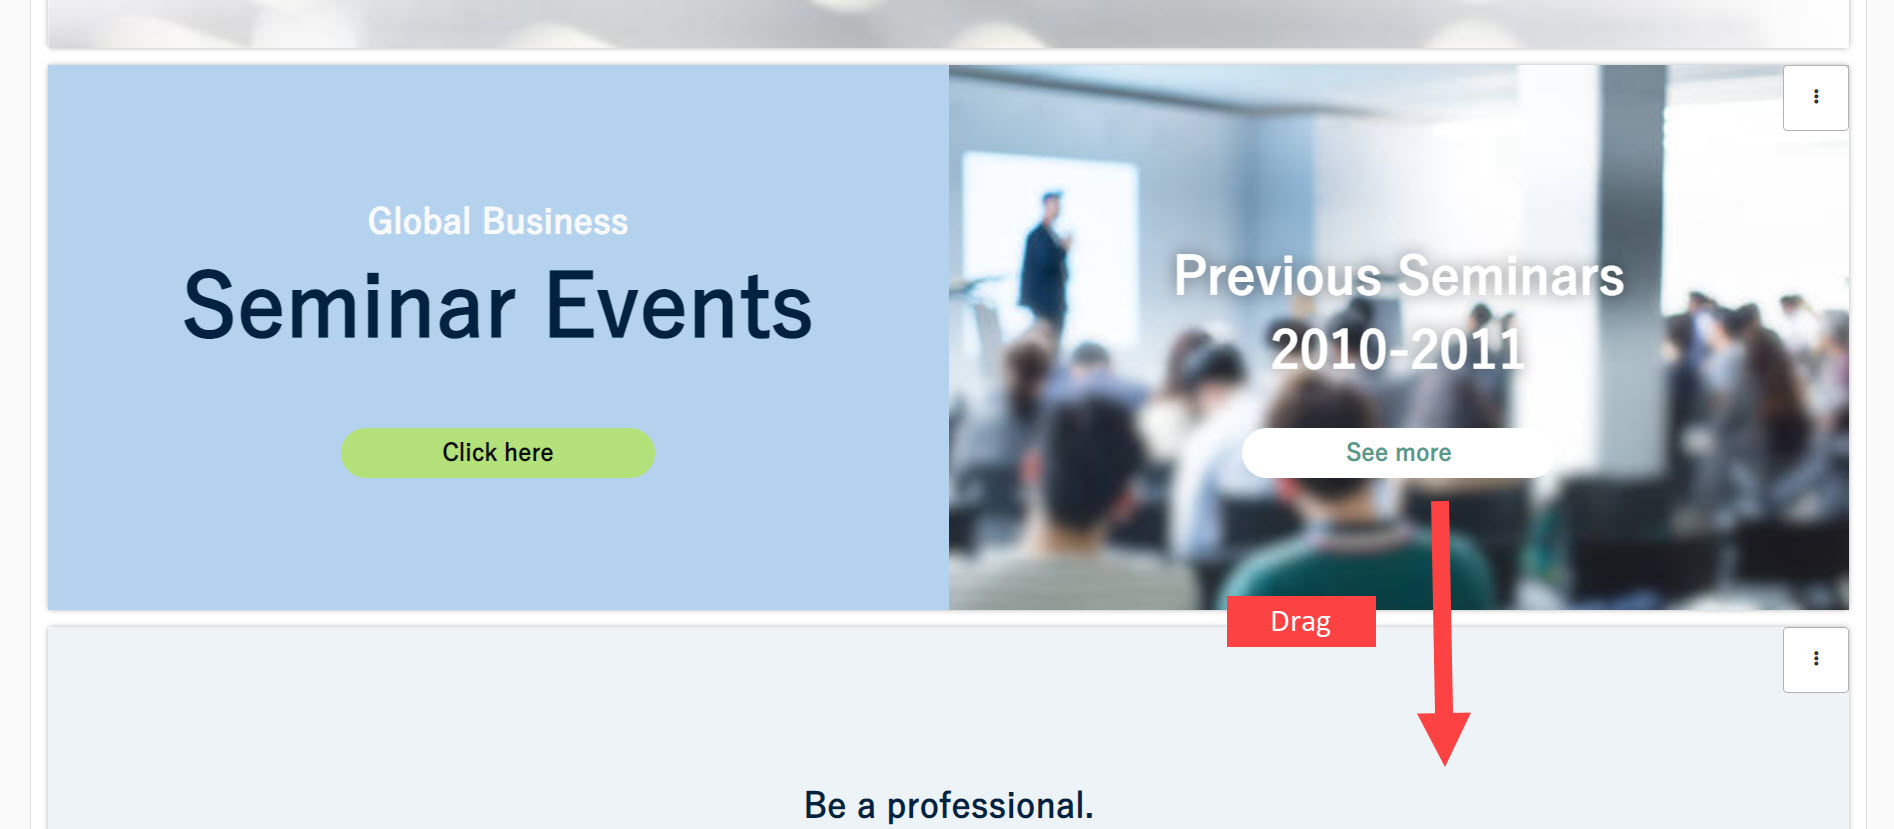
02Replace panel ②
The panel is replaced.
If you replace panels in the PC view settings, the layout will be reflected in the tablet/smartphone view as well.
Adding Panels
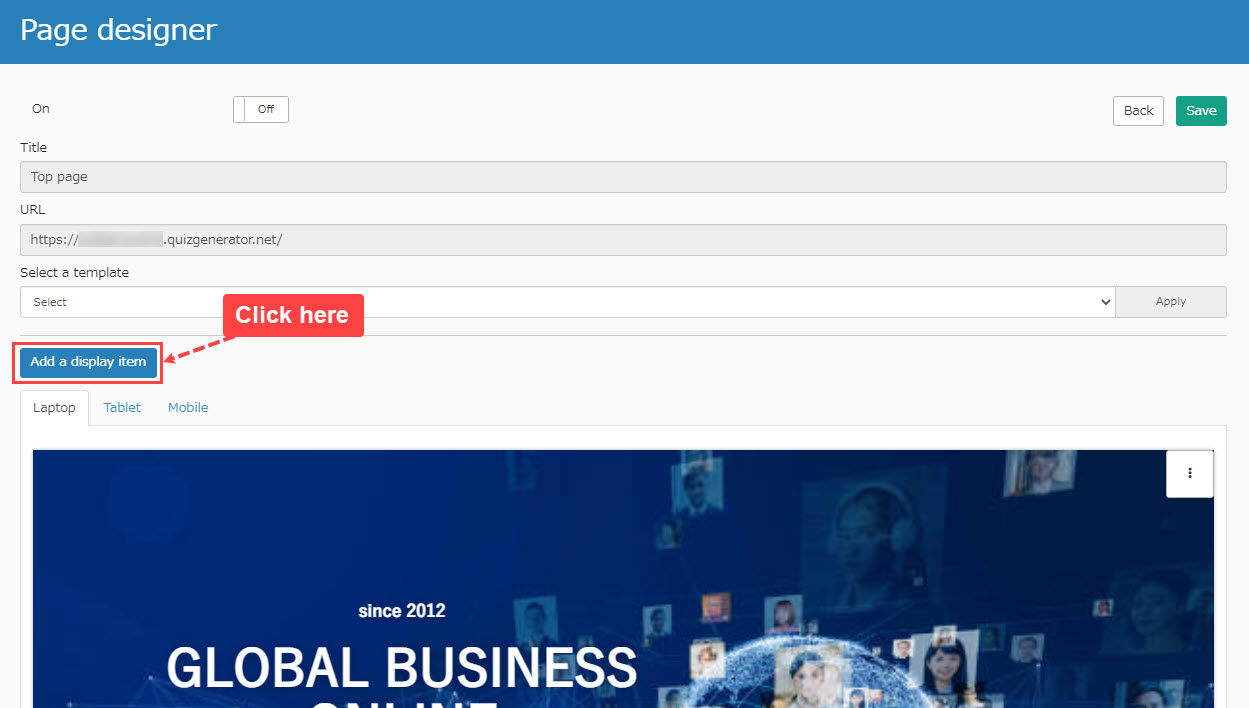
01Open "Page designer."
Click on "Add display item."
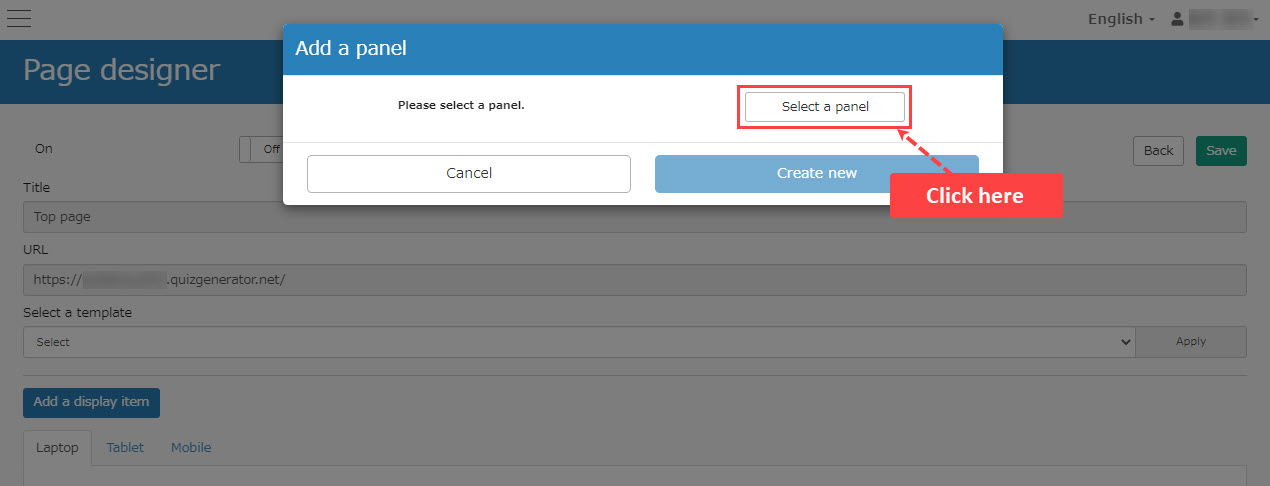
02Panel selection screen
Click on "Select a panel."
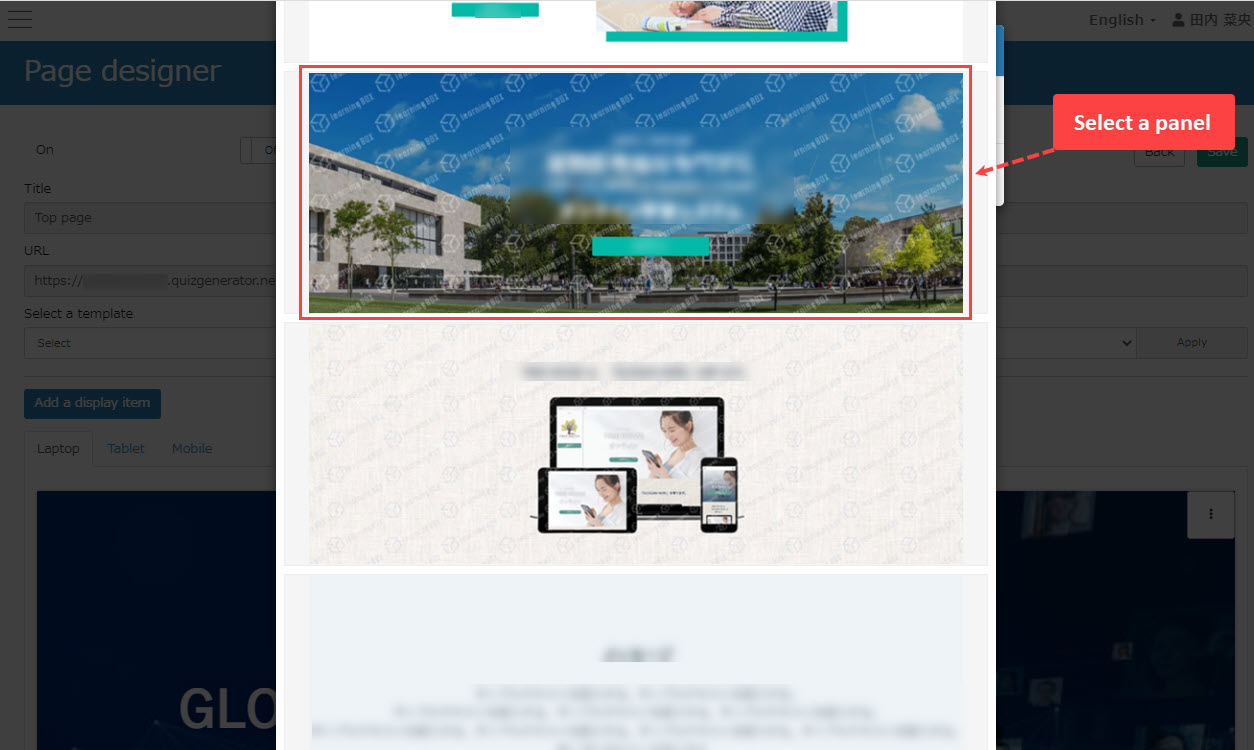
03Select a panel
Select a panel to be added.
After the settings for each item, click "Create new."
04Panel Display
Panels are added at the bottom.
Print this page